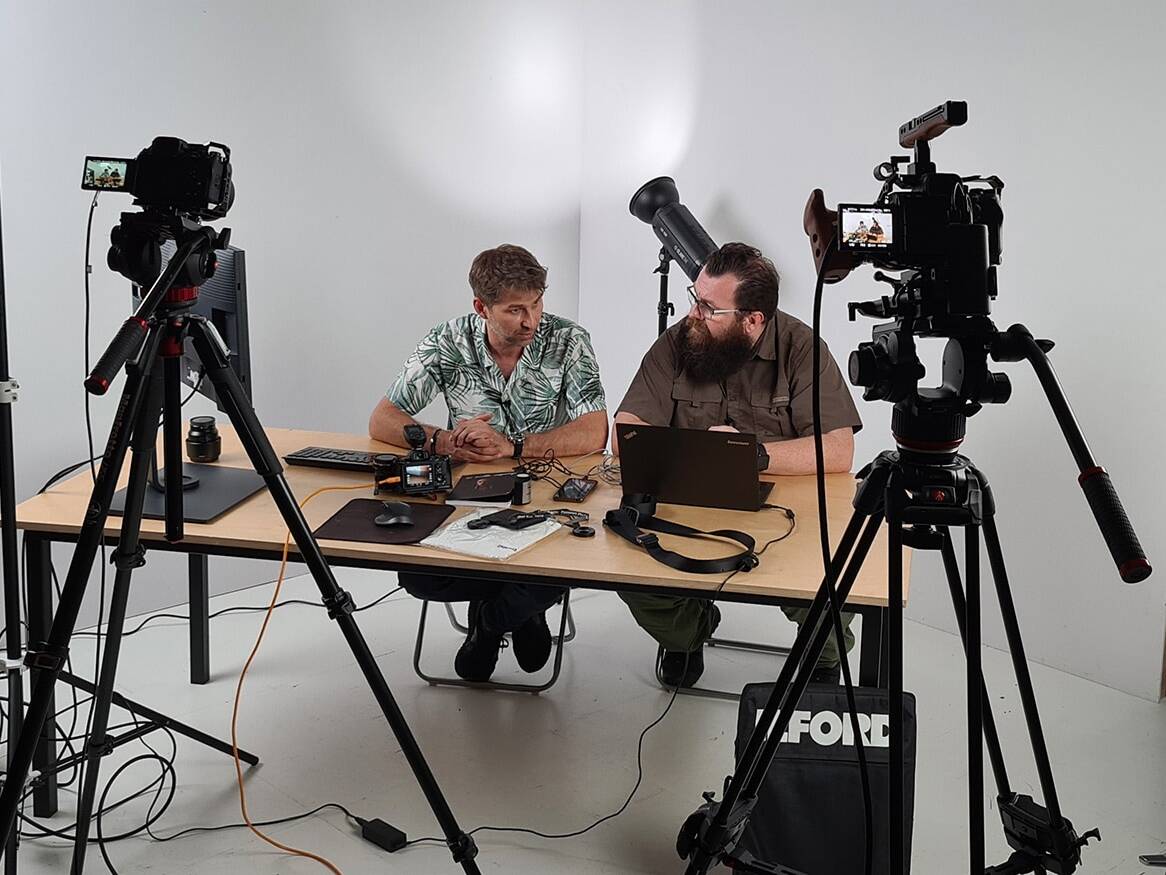
What makes some movies much more impressive than others? Of course, it can be acting level or special effects, but most often it is because they are distinguished by their unique appearance, which can be characterized by the term “movie look”. However, you should be aware that it is most often the result of the work of a whole team of gifted people, who usually also have a large budget at their disposal, allocated, among others, for carefully selected locations, expensive sets of cameras and lenses, appropriate lighting, sound, and finally many hours of work in post-production. So what to do when you often have to act even alone, and the budget is also incomparably smaller? It’s a cliché, but using all available resources creatively and consciously, you can also get really surprisingly good results!
GEAR
The most obvious resource that you can’t do without is filming equipment. In his case, however, the number of important technical issues that are worth getting acquainted with is so great that it may even overwhelm some. So, apart from lenses and filters, I mean, for example, white balance, the number of frames per second, aperture, shutter speed, ISO value, codecs or… profiles that use the recording in the so-called “Logs”. Depending on the manufacturer, even in cameras from the lower price range, we will come across V-Logs, C-Logs, D-Logs or, in the case of Sony – S-Logs. So what are they?
GAMMA CORRECTION
These logs are just log gamma curves. Going deeper into the theory, I will explain that gamma, or gamma correction, is an algorithm for processing, actually encoding and decoding luminance on digital devices. Without gamma correction (simple linear function), too many bits would be allocated to the bright parts of the image, which the human eye would not notice anyway, while too few bits would be allocated to the dark parts, to which the human is much more sensitive. Hence the need for a correction (curve); the most commonly used is gamma 2.2 (found in most SRGB monitors). The slightly darker gamma of 2.4 is the choice of filmmakers using the Rec. 709 space.
Why then use corrections as intrusive as logarithmic? Sony’s website, writing about its S-Log, states that “… it is a gamma curve with a wide dynamic range optimized for future gradation during the post-production process.” Thus, their use can ensure the maximum tonal range for a given equipment (the difference between the lightest and darkest point of the image, where the data is recorded). It is something we all crave in the pursuit of the perfection of the human eye. OK, but are there any downsides to using logs then? Well, you have to take into account that in this case the operator’s work requires a bit more knowledge and experience than usual, and the image itself, without proper correction, looks simply uninteresting. On the other hand, with properly recorded material, the colorist has much more room to show off than when using other, less invasive profiles.
LOGARITHMIC PROFILES
So a few words about profiles. In Sony professional cameras, as well as in mirrorless ones, such as the Alpha series, you can choose from various types of predefined profiles (eg PP1, PP2, etc.). In each of them specific settings are preserved, e.g. regarding the choice of gamma, gamut (color space) or sharpening level. Of course, these profiles can be individually changed and adjusted to your preferences. In the case of logarithmic profiles, S-Log2 or S-Log3 as the gamma shall be selected (according to Sony, they differ in terms of color interpretation) and as the gamut – S-Gamut, S-Gamut3 or S-Gamut3.cine (the gamut “cine” is slightly smaller but still bigger than Rec. 709). I think that it is quite important, especially with 4K resolution, to set the sharpening level to the minimum value, otherwise in worse lighting conditions the amount of noise may increase (it is much better to sharpen already at the post-production stage). I also recommend trying out the settings that are often published by different creators using the same or similar hardware. For example, in A7SIII I use settings imported from Philip Bloom, a famous British cinematographer, YouTuber and Sony ambassador. This profile is based on the S-Log3.cine gamma and the S-Log3 gamma. More about the profiles in the video below, and the link to the A7SIII settings file can be found in its description.
EXPOSURE IN S-LOG3
Each gamma has at least two basic values that are worth knowing; these are the IRE (brightness) value for a gray card of 18% (reflects 18% of incident light) at which the exposure should be correct and the IRE value at which the image will burn through. For S-Log3, these values are 41% and 94% respectively (it is worth reading the full Sony table containing data also for S-Log2, Cine or HLG). So theoretically, we should set the exposure to 41% measured on the gray card and practically take into account that anything above 94% will be too bright (nothing will be registered). So how do you measure this value?
The most traditional method is to use an external light meter… but, of course, there are also other much more convenient ones, such as the False Colors or Zebra functions based on the light meter built into our equipment. Especially the latter should be available in the vast majority of cameras. Without going into details, it allows you to display characteristic stripes (hence the name) on the part of the image that corresponds to the brightness values set for a specific range or above the lower limit.
So the value of 41% should mean the correct exposure… It turns out, however, that using the method called ETTR (expose to the right) allows you to achieve even better results! In short, it assumes setting the exposure higher, but in such a way as not to overexpose the image. In the case of S-Log3 it is assumed that instead of 41% IRE on the gray card, this value should be approx. 55%. Thanks to this, you can not only record the image with the maximum tonal range, but also minimize the noise that may appear in the dark parts.
Of course theory is theory, but experience is equally important. Take, for example, a situation where we are recording an interview outside on a beautiful sunny day. If we properly set the exposure to our hero, which should coincide more or less with the value of 55% on the gray card next to the face, it will probably turn out that the brightness value in the area of the sky in the background will exceed 94%. And here you have to make a decision; do we consciously agree to having it overexposed? Or maybe we will lower the exposure a bit, taking into account that our hero will be slightly underexposed (which involves the need to increase the value of “Shadows” in post-production and the risk of noise)? Or maybe we just change the location? There are no fixed rules here, but the knowledge and help in the form of Zebra definitely helps.
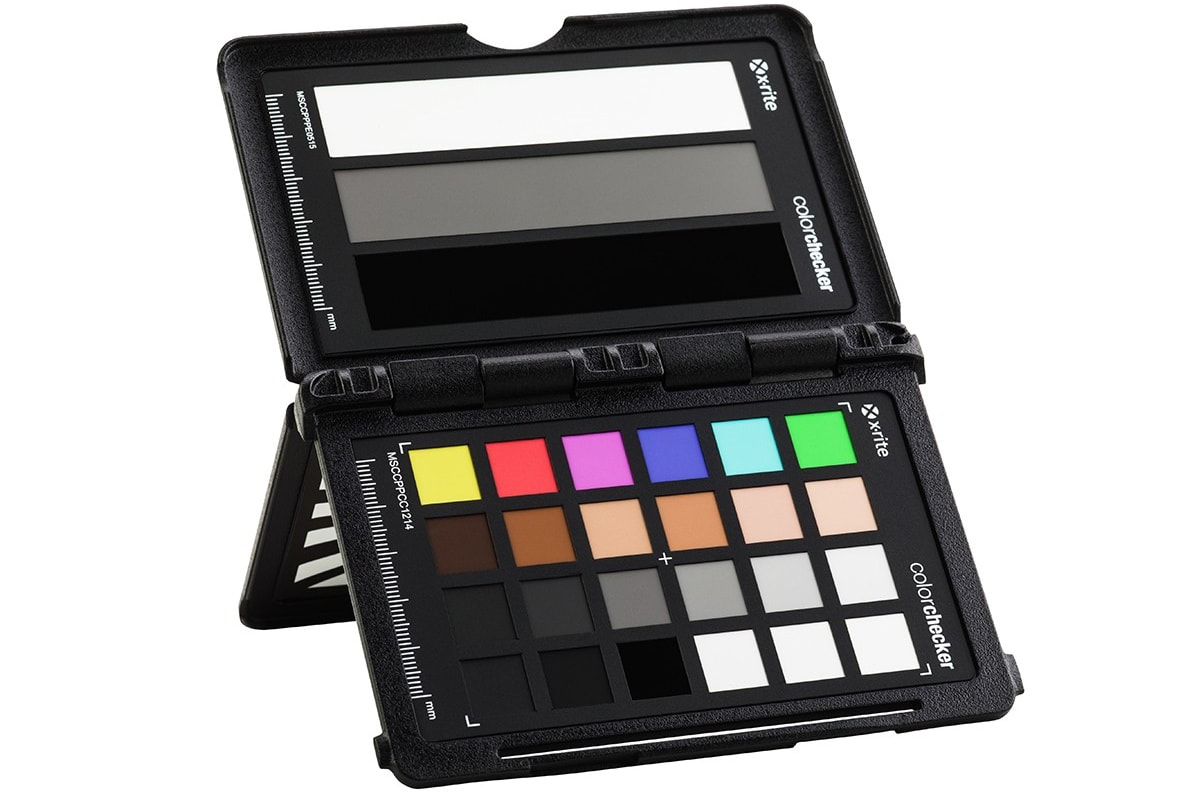
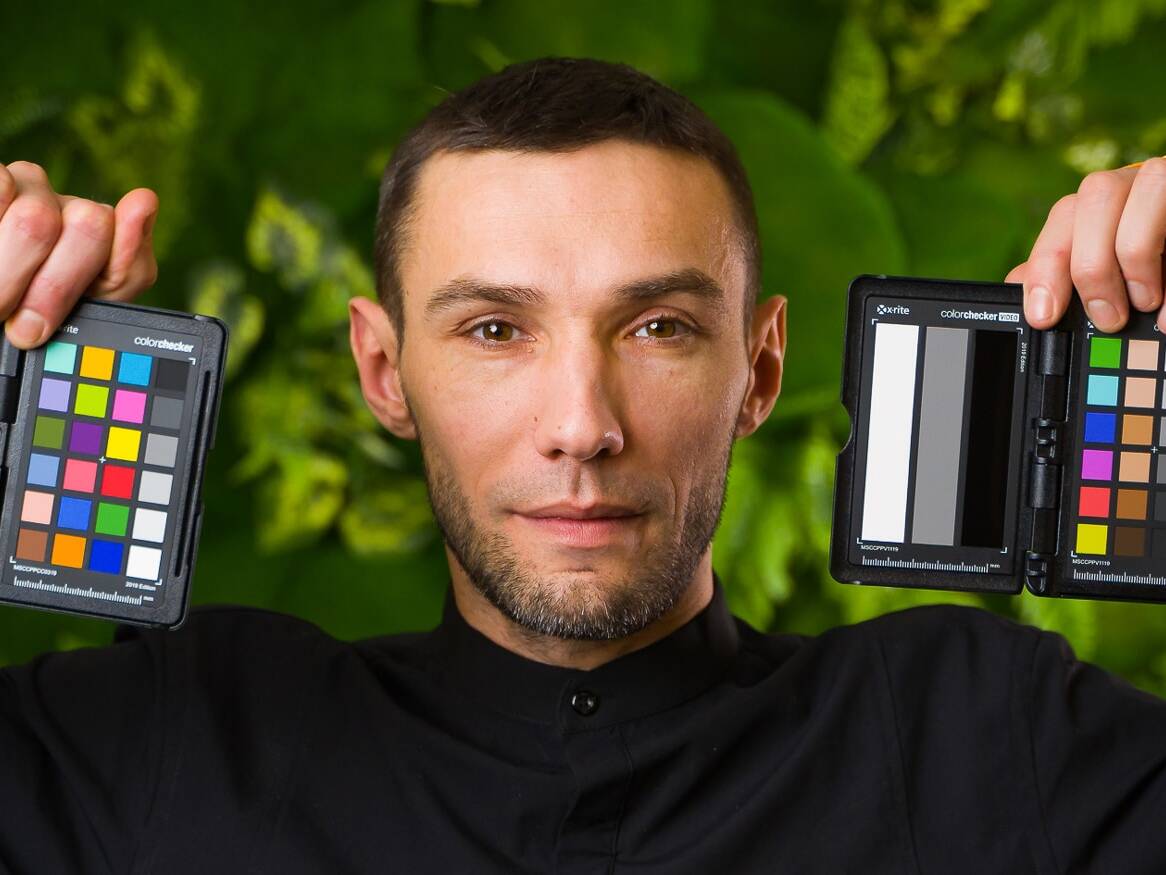
Proper exposure is the absolute key to a much more pleasant implementation of a creative vision instead of fixing errors during color correction of an image. Hence, it is really worth investing at least in the gray card itself, and preferably in a professional color pattern. Personally, I can recommend X-Rite ColorChecker Passport Video, which includes a card with video color patterns, a card for setting white balance, a card for focusing and just a card with a three-level grayscale pattern, from white through gray (gray card 18%) to black . The advantage of this pattern is also its compact dimensions, thanks to which you can put it in a pocket and have it with you all the time, and the possibility of closure, thanks to which the patterns are protected from sunlight, extending their life.
ISO VS. NOISE
If you already know how to set the exposure, it is worth talking about how to adjust it as well. In general, the film poses many more limitations in this matter than photography. So one by one; the exposure time should be twice the number of frames per second of the recording, which provides two or maximum three additional options for changing it. The aperture gives you more possibilities, but at the same time affects the depth of field, which may not always be the desired effect. Finally the ISO sensitivity; its scope with the development of technology is constantly increasing and levels that were unattainable until recently, now do not surprise anyone. But an increase in ISO almost always means more noise as well, so depending on the sensor, it’s worth knowing in what safe range you can move. The matter becomes even more complicated when using just S-Logs; Sony reports that “… the S-Log2 and S-Log3 curves differently control exposure to provide a wide dynamic range” resulting in the minimum ISO sensitivity being higher than usual. This of course depends on the model, but for example in the Sony A7III this value is 800, while in the A7SIII 640 (here you can go lower, but the tests confirm a significant decrease in the dynamic range). What does it mean? On a bright, sunny day, obtaining an eye-pleasing blur of the background (e.g. with an aperture of f/2.8) may not be possible, because an ISO of 800 makes the image very overexposed (the use of ND filters becomes indispensable).
An additional option, available in high-end equipment, is double ISO. Although Sony does not officially confirm this, it can be seen in the A7SIII model that when the ISO increases from the native level (for which the amount of noise will be the smallest, for S-Log2 and S-Log3 it is 640), the amount of noise increases up to a certain value, after which suddenly drops back to a comparable amount to the native level (for S-Log2 and S-Log3 it is 12800). Therefore, having such knowledge and hardware capabilities, it is often worth increasing the ISO by correcting the exposure, e.g. with an aperture.
Actually, the following video on YouTube channel – Gerald Undone applies to all of the above issues. If someone does not know it, it is really worth taking a look, Gerald tests and talks about various technical innovations in the world of photography and film in an extremely accurate and at the same time quite accessible way.
ND FILTERS
Another issue that I wanted to mention are gray filters, or ND (Neutral Density) filters; their function is to reduce the amount of light falling on the sensor. It is thanks to them that you can get the right exposure, for example for the shutter speed 1/50 second, f/2.8 aperture and ISO 800 for a scene recorded outside in high sunlight. These filters are distinguished primarily by the ND value (eg ND32 – the higher the value, the less light transmitted). In addition, they appear either separately or in the form of VND filters (variable neutral density, usually found in the ND4-ND32 and ND64-ND512 ranges), which on the one hand tempt with their convenience of use, but are also not without drawbacks, such as the possibility of minimal tinting of the image (color casting) or slight blackout in the form of a cross (cross polarization, may occur with wide-angle lenses). Recently, VND mist filters have also appeared on the market – they soften the image and add a characteristic glow around the light sources.
EXTERNAL MONITOR WITH LUT
Probably many people have encountered the term LUT, referring to a file that magically changes the image during post-production. There are plenty of them, some paid, some free, using LUTs is generally a topic for a completely different discussion. However, there are also so-called Technical LUTs provided by manufacturers (here link to Sony), and their task is to transform the image from logarithmic mode to Rec. 709 space, in order to be able to further process them. Now imagine that the same LUT, even the final LUT, that we can create ourselves, can be imported and operated by an external preview monitor (which of course supports this function)! Instead of the washed-out colors and low contrast typical for logs, in the live view you can see the image almost as we expect to finally get it. Apart from False Colors, Zebra or the not mentioned Histogram, it is another way to control and help while working in the S-Log.
SUMMARY AND SURPRISE
I hope that all the issues presented have become at least a little more accessible, especially for people who are just starting their fun with filming. So is it always worth using S-Log? It depends. Until recently, on the A7III I used rather gamma Cine, because it gave me a sense of security, and on the other hand, with 8-bit and 4:2:0 color sampling, the benefit of the S-Log is not that great, which does not mean that it is not there. Now on the A7SIII, with the image recorded in 10 bits and 4:2:2 sampling and the experience described above, I am not afraid that something will fail, because I have tools that allow me to control while working. But later, in post-production, the fun with color is great. So, I guess it’s worth it!
And finally, I managed to negotiate something again in a friendly Group Fine Art store, this time a 10% discount on colorcheckers from X-Rite both in the Passport version and in the traditional, double-sided version. Code: CCVIDEO, links (not affiliate) below:
The promotion is valid until the end of February 2021.
See also:
18/04/2024
19 new features in DaVinci Resolve 19
Learn about the selected 19 best new features in DaVinci Resolve 19!
04/01/2024
DaVinci Resolve quick tips #4
It's time for another post with DaVinci Resolve tips, including how to easily remove unused clips from Media…
11/11/2023
Tilta Nucleus Nano II follow focus review
Is the new Tilta Nucleus Nano II follow focus set just a cosmetic change or a completely new quality?
23/06/2023
Calibrite ColorChecker Passport Video
Check out why the Calibrite ColorChecker (Passport) Video color guide is an indispensable tool on every film…
10/02/2023
DaVinci Resolve quick tips #3
Version 18.1 of DaVinci Resolve was released, version for iPad, so I envite you for the third portion of…
25/08/2022
DaVinci Resolve quick tips #2
As it's been some time since the first entry with DaVinci Resolve tips, it's high time to publish the second…
15/07/2022
Software calibration of any monitor
Almost any display or monitor can be calibrated (profiled), in addition having a calibrator combined with a…
06/06/2022
Live streams production
Attention; please be quite on set, we are going on the air! Have you ever been thinking, how can live streams…
25/04/2022
What do I owe to photography
In this blogpost I share my thoughts about what I owe to photography as a filmmaker, and why the role of…
28/12/2021
DaVinci Resolve quick tips #1
I started a series of so-called "quick tips" about DaVinci Resolve. Hope you find them interesting, I invite…


