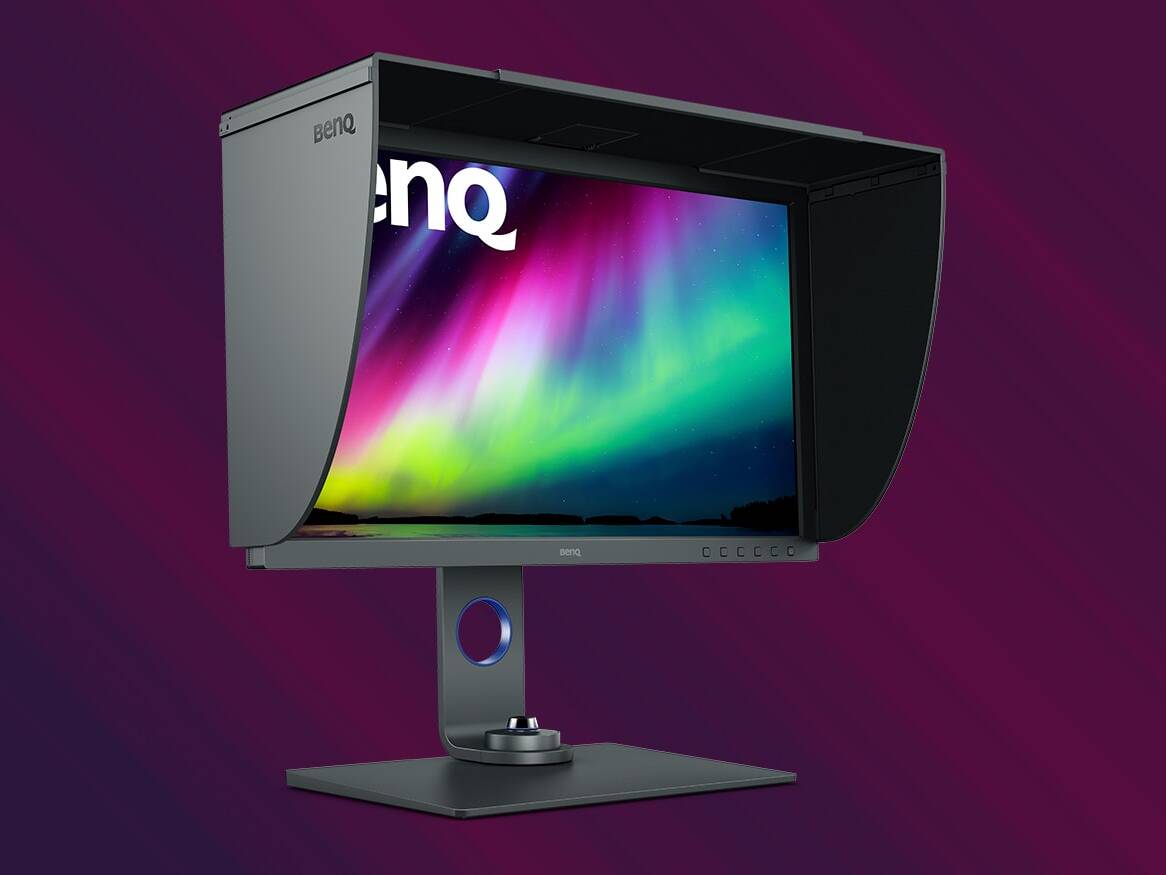
A well-calibrated monitor is an indispensable element of the conscious process of graphic, photographic or film post-production, and yet still ignored by so many creators. If it is possible to understand that on the client side, color management is often a matter of personal subjective preferences, then professionals should be sure of the results of their work. It happens that the explanation is, for example, the lack of a budget for an expensive monitor. Meanwhile, virtually every display, even the one in a laptop, although only system-wide, can be calibrated! Unaware of the difference between system and hardware calibration, I refer to a separate entry on this topic, while here I will present the system calibration process of my Dell Vostro laptop and the Benq PD2500Q monitor, which also does not have the possibility of hardware calibration.
WHAT IS NECESSARY FOR SYSTEM CALIBRATION?
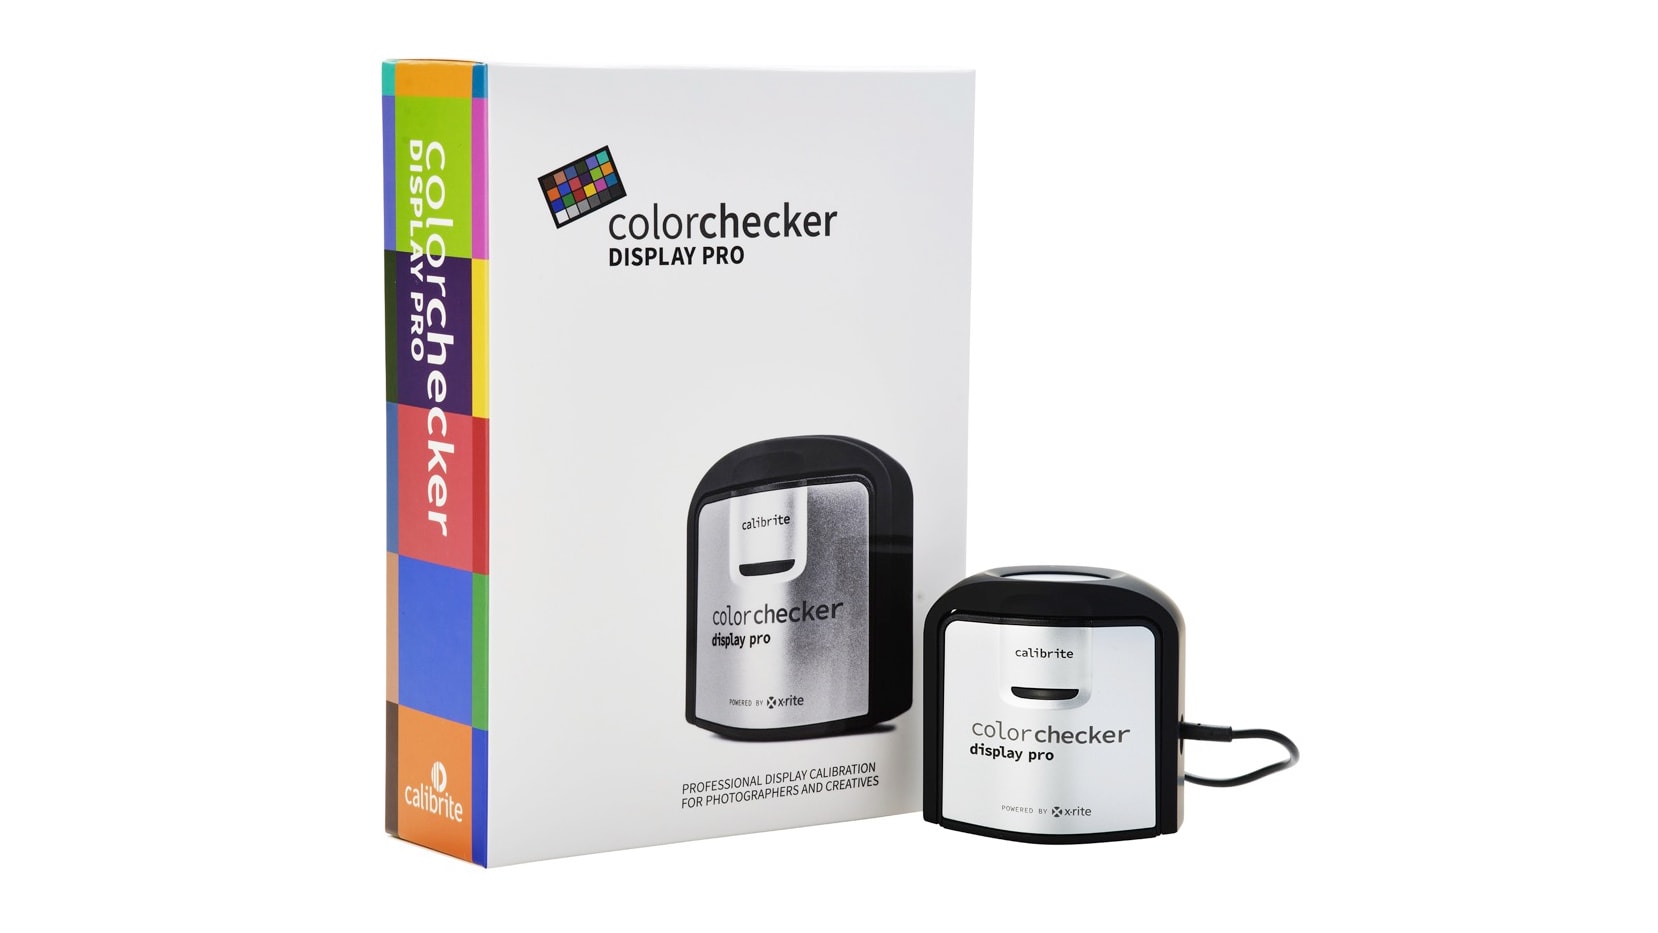
To calibrate the monitor yourself, we need a calibrator with software and a bit of knowledge about it. As usual, there are several solutions to the first issue, from those for a few hundred zlotys to… let’s say very expensive. From personal experience, however, I can recommend equipment of a Calibrite brand (formerly X-Rite). For over three years I have been using the X-Rite I1 Display Pro model (currently Calibrite Color Checker Display Pro), which is available for around a thousand zlotys. Among similar models there is also a cheaper one – Calibrite Color Checker Display, but it works only with Calibrite software, and the more expensive Calibrite Color Checker Display Plus, for displays over 1000 nits. In my opinion, it is worth choosing at least the Pro model, because if you invest in a better monitor or use other programs, such as DisplayCAL, unlike the lower model, you will still be able to use it. The aforementioned calibrator is therefore used for hardware (e.g. using BenQ’s Palette Master Element software) and system calibration, as well as for measuring e.g. the uniformity of the matrix backlight or the ambient luminance.
Another element is the software, which in case of Calibrite is available free of charge from the manufacturer’s website (for the Pro model it is ccProfiler). And the last element is a bit of knowledge, that I will try to provide below.
CALIBRATION PROCESS
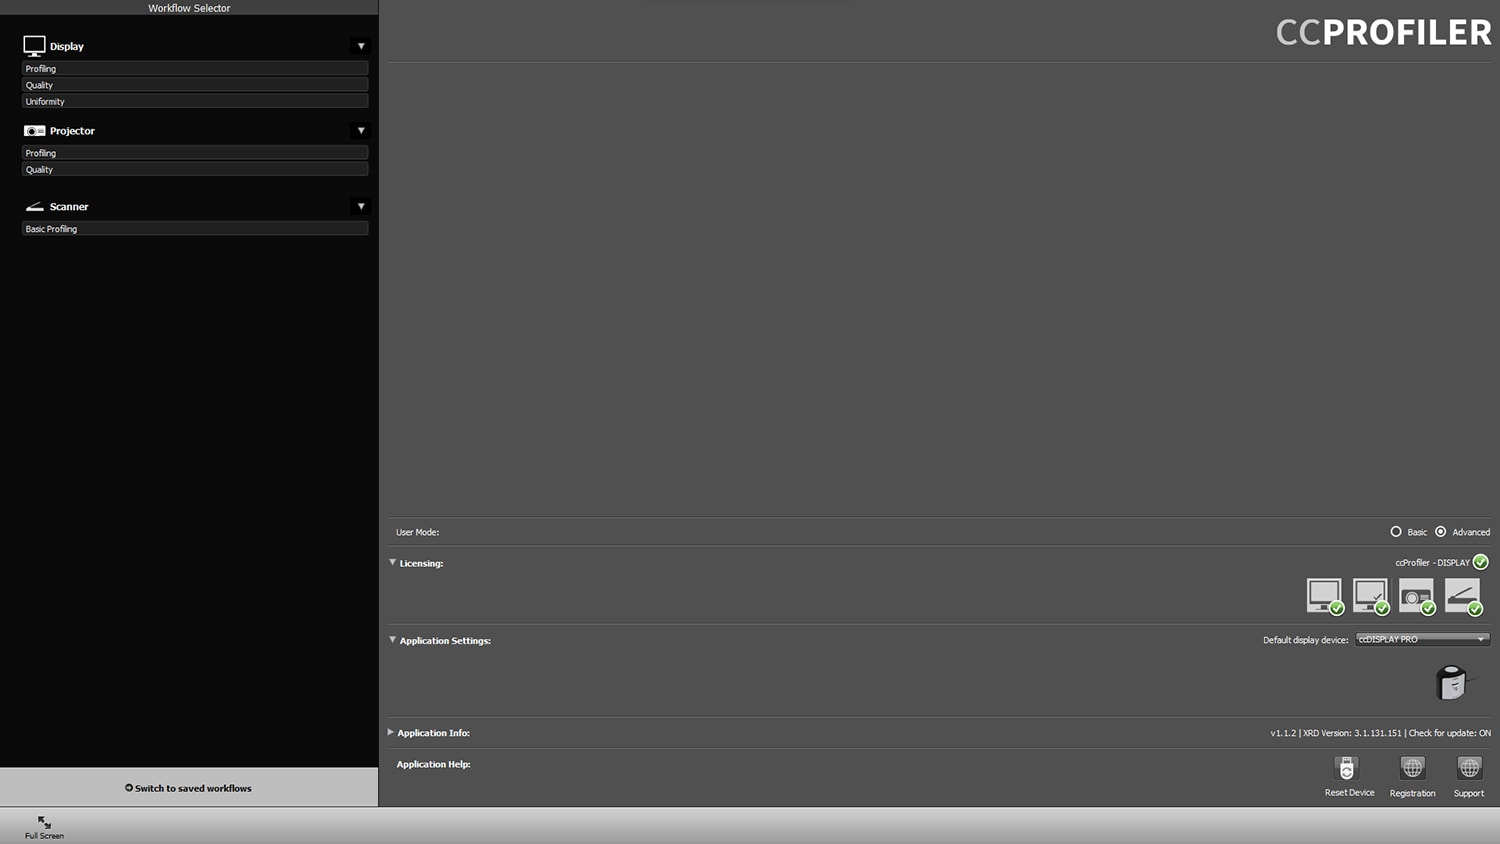
After installing the software and connecting the calibrator to the computer, we start the calibration process (although this actually should be named monitor profiling, because after completion, unlike hardware calibration, you will get only the icc profile, however both hardware and system calibration are still referred to calibration, so I will stick to this nomenclature). As I mentioned, I will calibrate the display of my Dell Vostro laptop and the BenQ PD2500Q monitor, because the process looks identical with two exceptions. So, after launching ccProfiler on the initial screen, first we select the Advanced option on the right, and then Display -> Profilling on the top left.
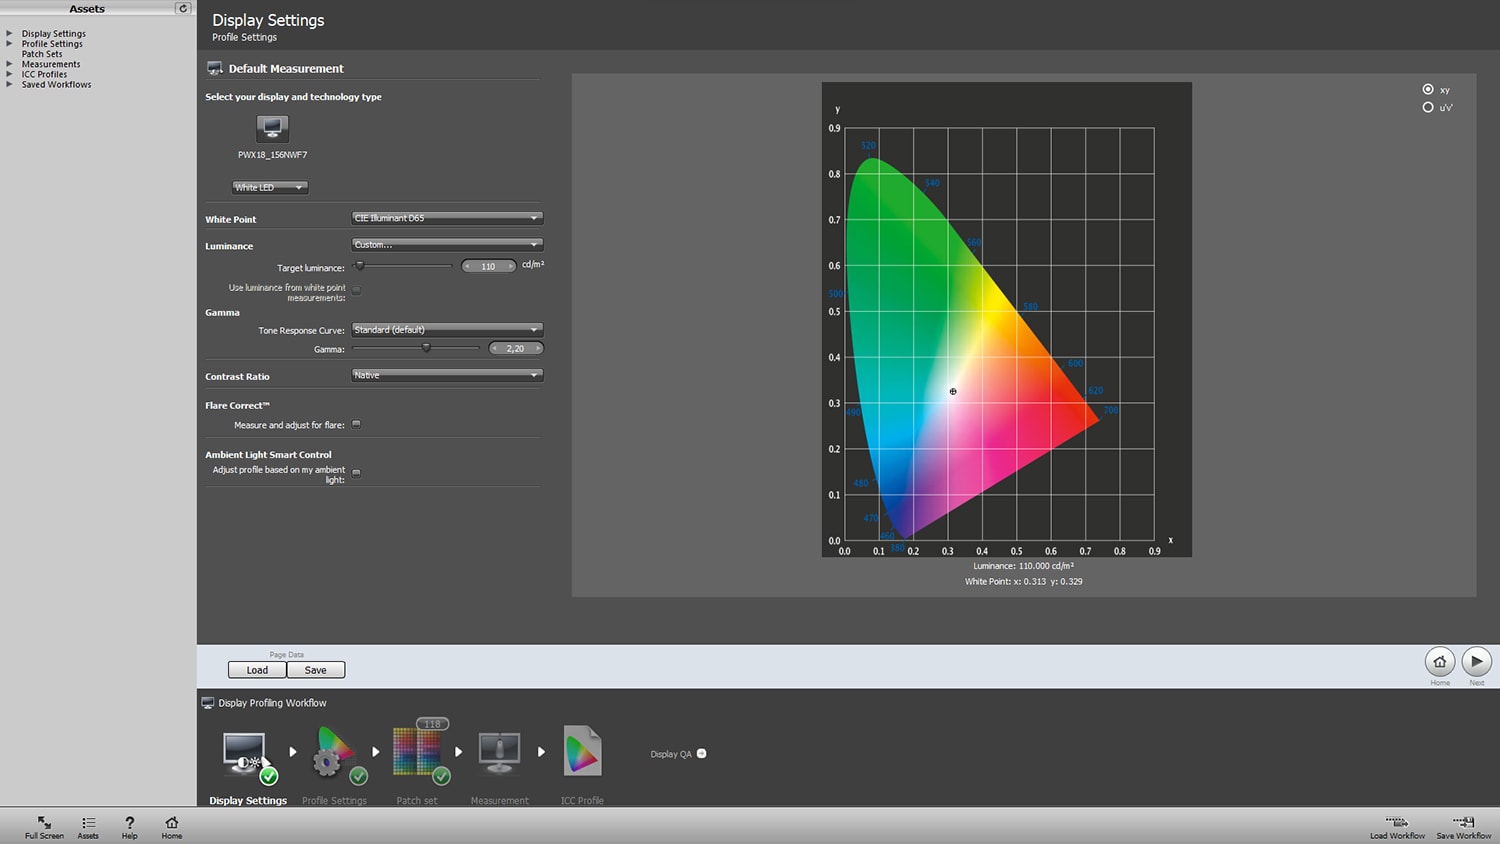
On the next screen, we basically make the most important settings:
- Display type and the White Point we usually leave at the default values.
- In Luminance we choose Custom option and give a specific value, as a rule, for content published on the Internet it is assumed 110-120 cd/m2, in case of printing 80-90 cd/m2, I use 110 cd / m2. It is worth mentioning that this value can be accurately measured with a calibrator. A separate topic is also to provide appropriate working conditions, i.e. a space that is rather shaded and does not change in relation to sunlight, gray walls would also be ideal, not affecting the perception of colors in the image.
- Gamma (curve representing a way of the digital image luminance interpretation) we set to 2.2 (another option may be 2.4 – this is the gamma for the Rec709 space, typical for a slightly darker film image).
- Contrast Ratio we leave on Native.
- We also do not select the Flare Correct and Ambient Light Smart Control options, as they may affect the uncontrolled change in the way the image is displayed during work.
There is also a Load or Save option below to load a file with these settings or save them for later. Then we click Next.
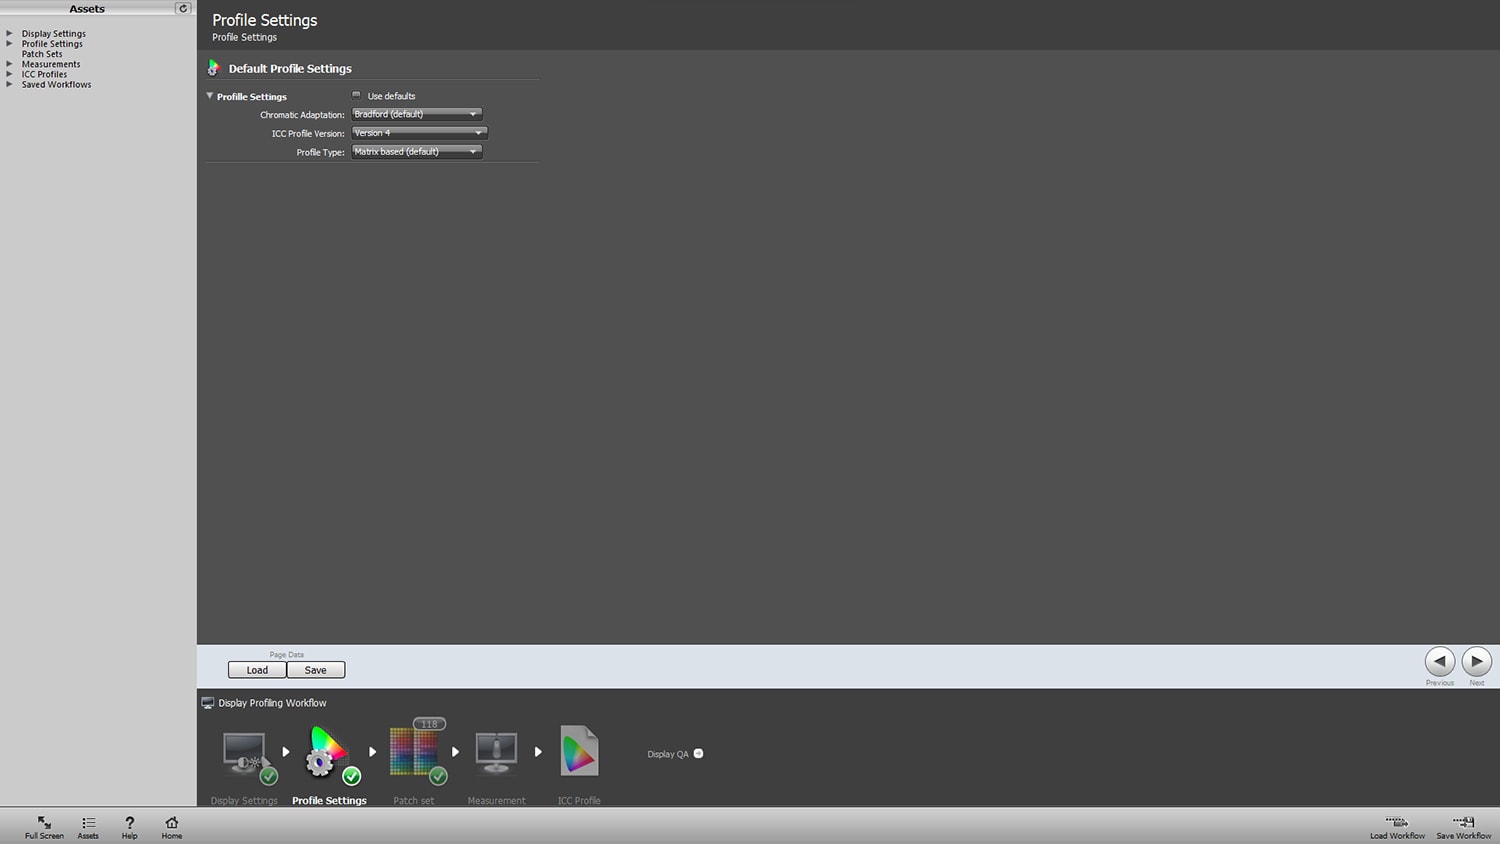
On the next screen, you can make settings for the profile itself, without going into details, I suggest selecting the ICC Profile Version -> Version 4 option and clicking Next.
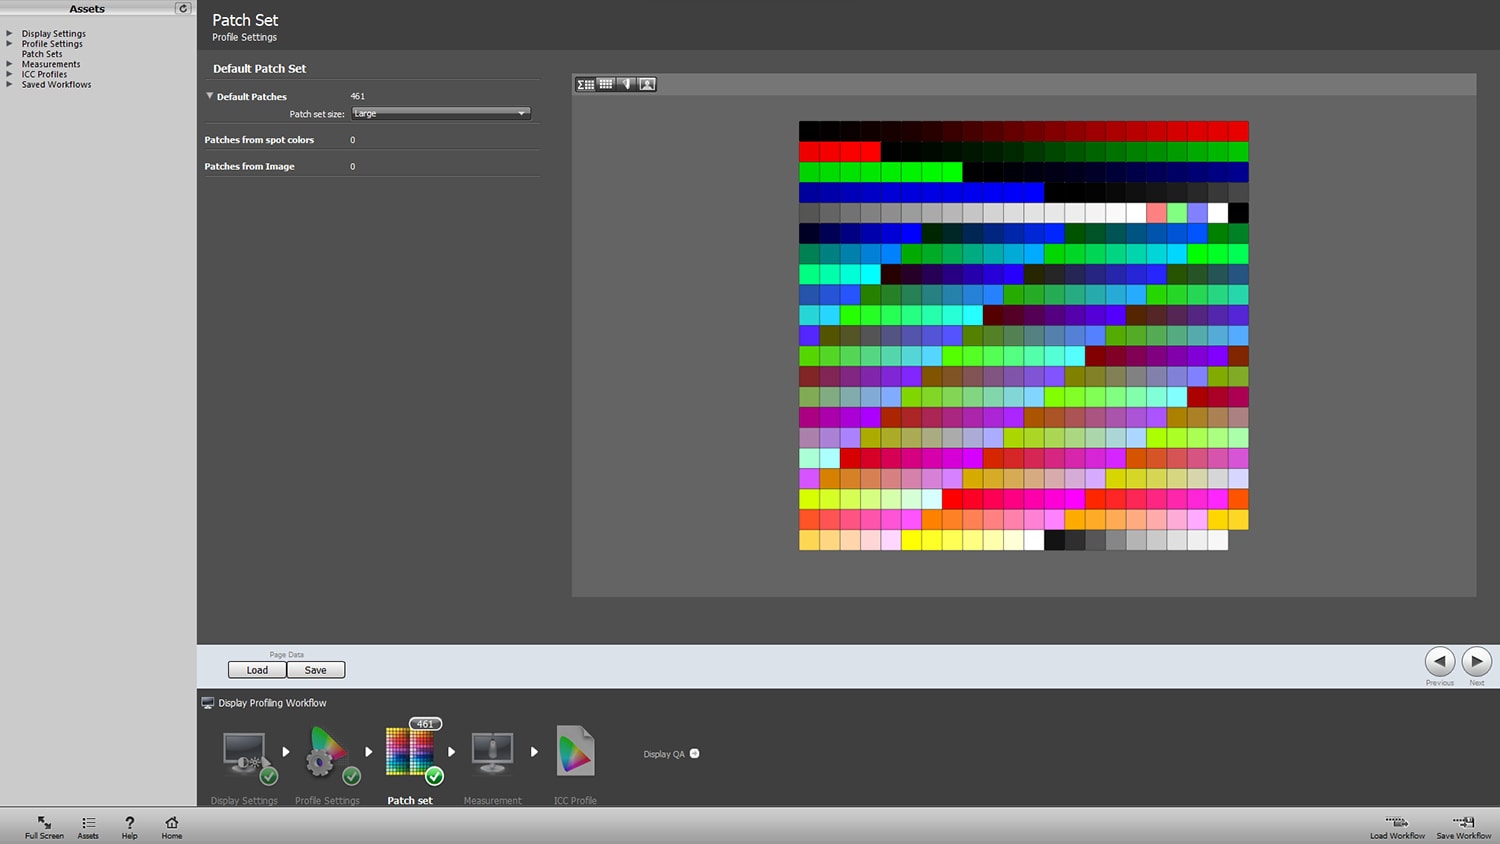
Here, on the other hand, we can set the number of patches that will be displayed during calibration, I suggest choosing Large, thanks to which the profile will be more accurate, and the process itself will only take 2-3 minutes longer.
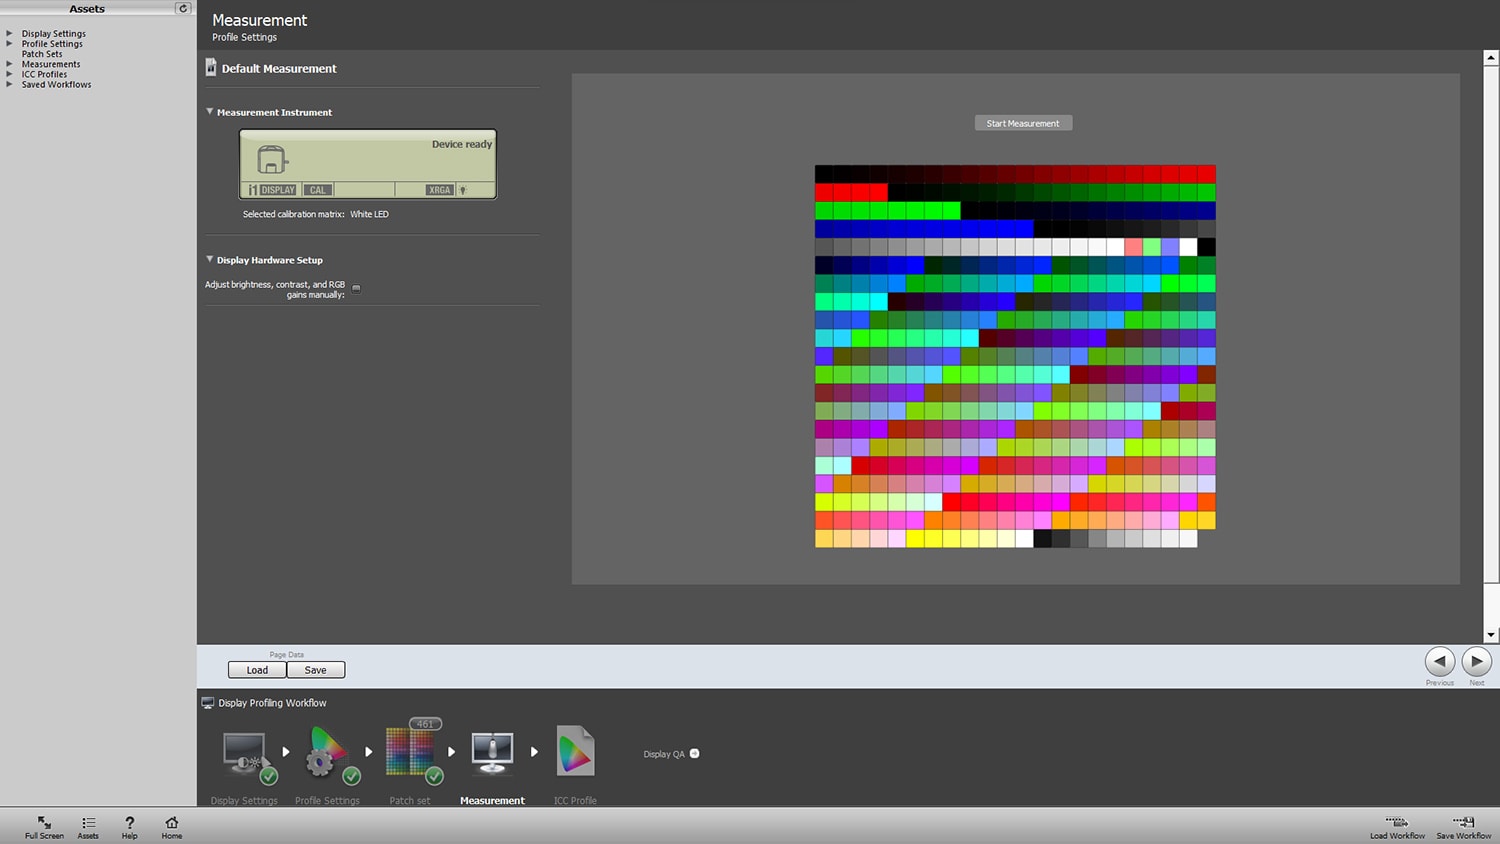
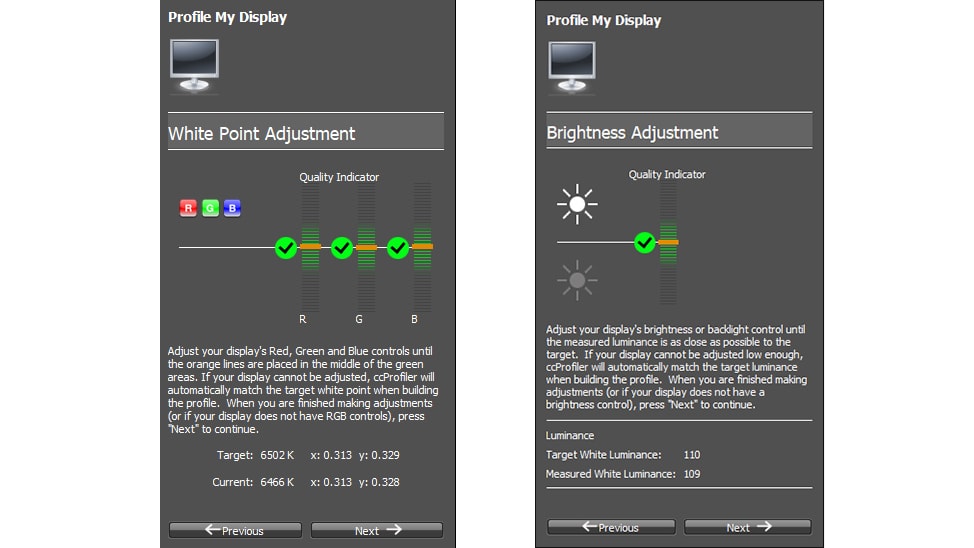
The next settings concern the possibility of manual adjustments of the brightness and RGB values. In case of calibrating the laptop display, I do not have such a possibility, so I leave this box unchecked. However, this option should be selected when calibrating the BenQ PD2500Q monitor.
In the next step, the program asks you to remove the cover from the calibrator and place it more or less in the center of the screen, it is also important to position it so that it rests perfectly on the display surface. Then the actual process begins, during which the calibrator records data from the screen. In case of a laptop, we will see different patches, first light and dark, then in different colors until the process is complete. However, in case of the Benq PD2500Q monitor, during the measurements, the program will display and, if necessary, ask you to manually change the monitor settings for both RGB (color temperature) and brightness values.
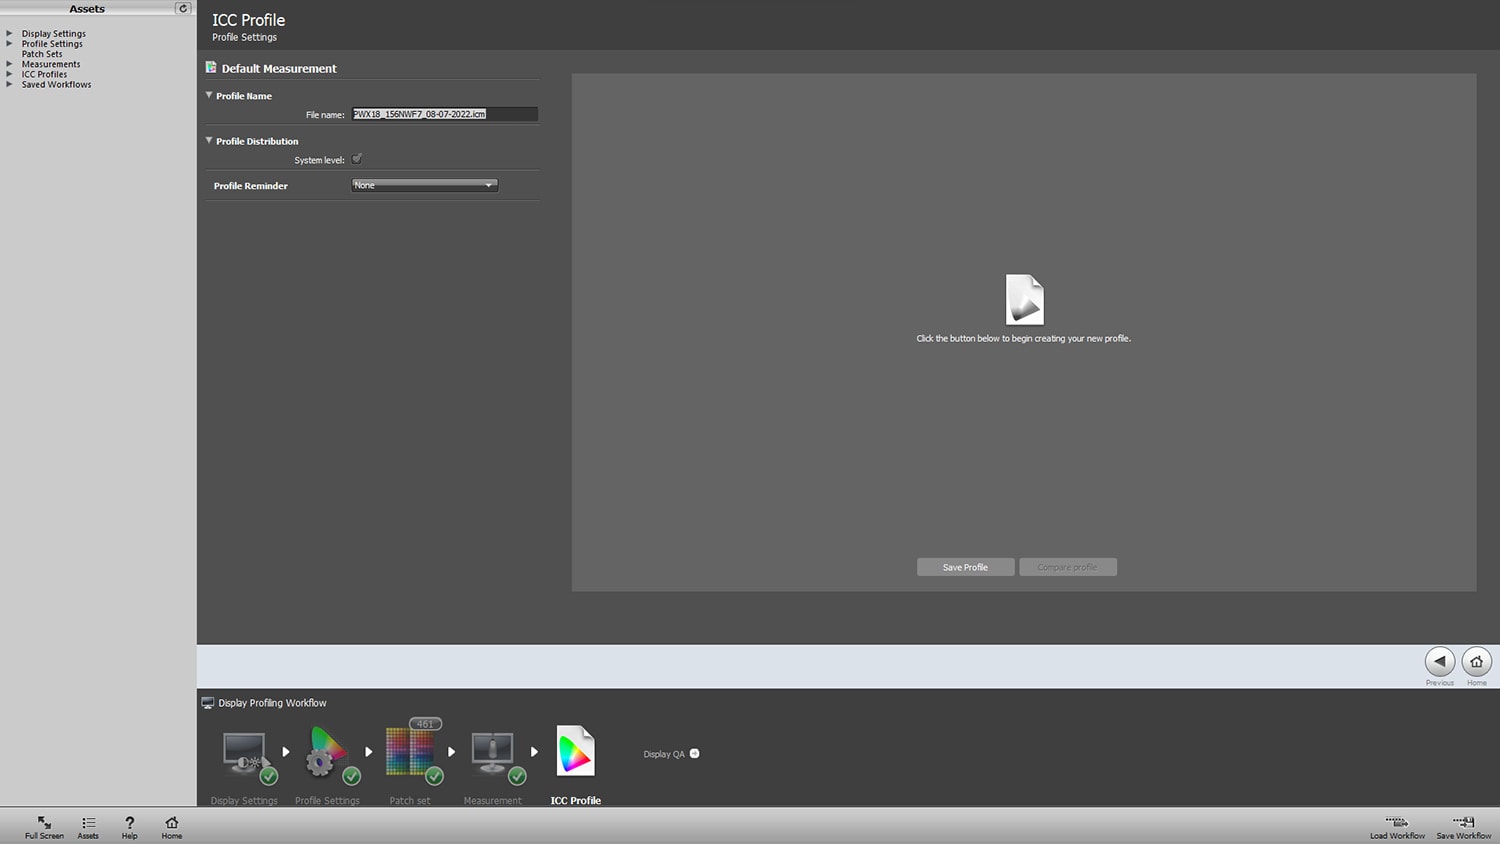
Finally, there will be a board with an editable proposed file name and the option to select Profile Distribution – System Level, making the created icc profile the default. We click Save Profile.
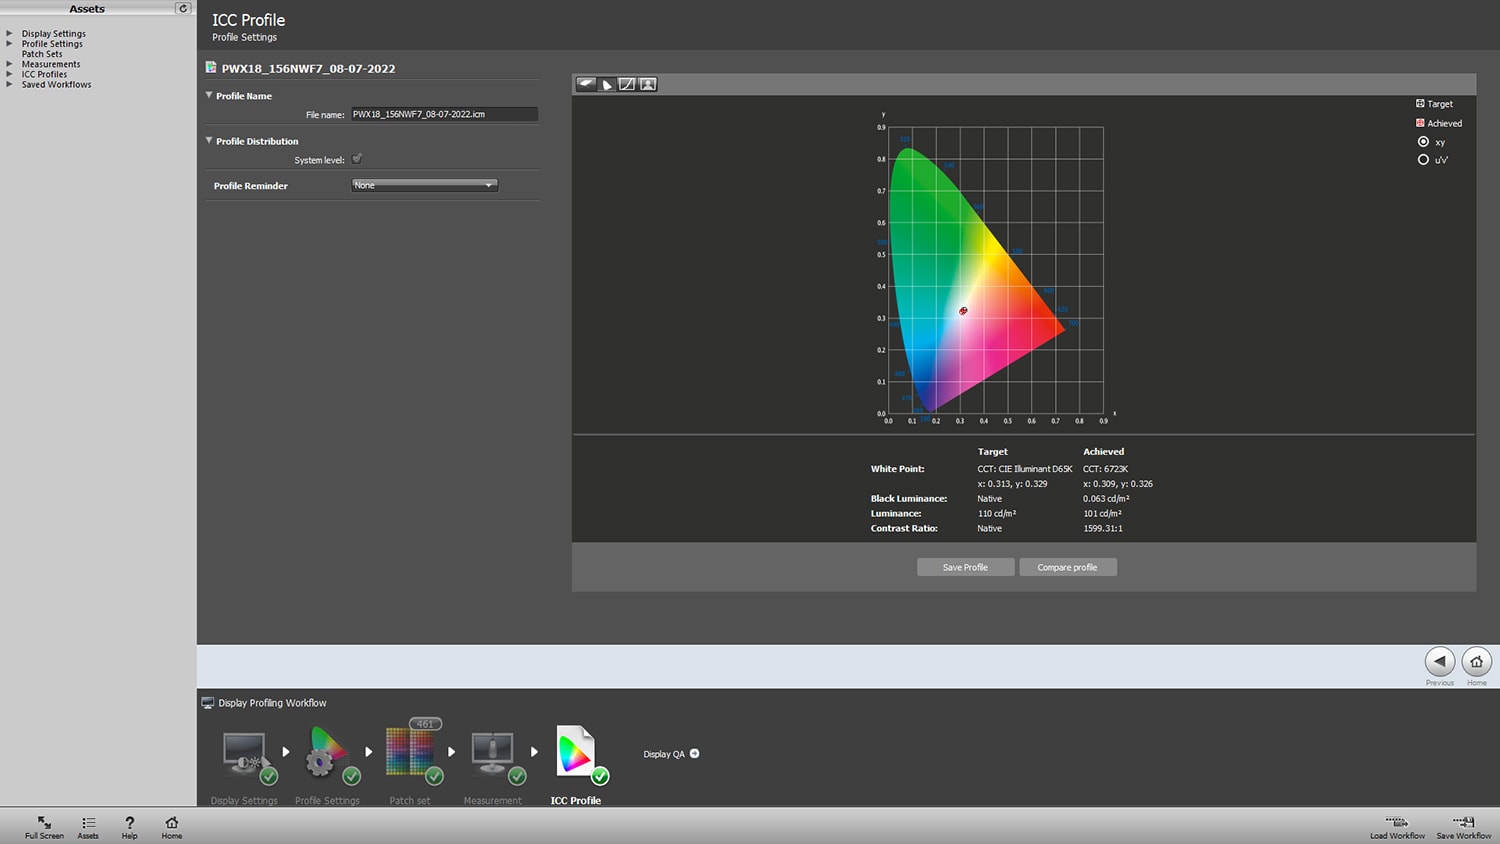
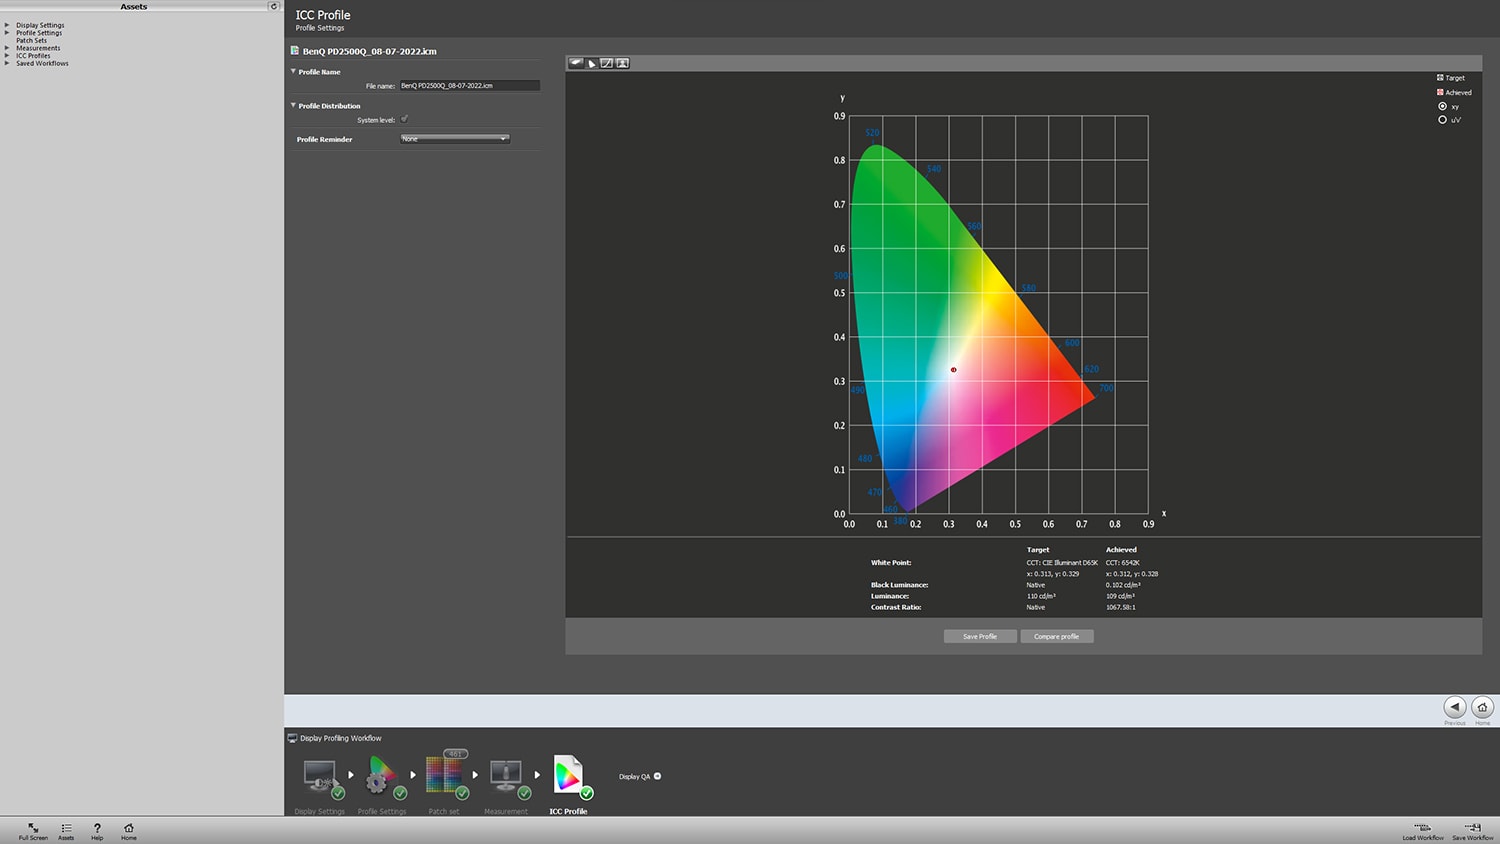
The profile has been saved. On the last board, we see the results obtained; below for the Dell Vostro laptop display and BenQ PD2500U monitor.
ICC PROFILES
I have no experience with macOS computers, but in Windows it is worth to know, that there is a Color Management tab where, after selecting a given device and selecting the “Use my settings for this device” option, you can manage profiles, e.g. by adding and/or removing them from the list of profiles associated with this device or by changing the default profile (removing a profile from the list does not remove it from the computer, you have to do it manually, also described in the previous entry). Finally, the currently used profiles can be quickly changed by right-clicking on the desktop and selecting “Display settings” and then “Color profile”.
CALIBRITE ANNIVERSARY PROMO
Believe it or not, on the day of the planned publication of this post, a Calibrite anniversary promotion was launched (without going into details, X-Rite has been acquired by Calibrite and has been selling products under its own brand for a year). I mentioned, that the recommended Calibrite Colorchecker Display Pro model costs about a thousand zlotys as standard, but from today you can buy it for only… 839 zlotys! The promotion also applies to other models, is available from selected distributors (e.g. here *) and lasts until 19th July 2022.
(* This is a link to a friendly store that I recommend and at the same time it is not an affiliate link.)
CALIBRATION FREQUENCY
Calibration is not a one-time process, displays change their properties and it is worth, let’s say once every six months, and certainly once a year to run it. For me, having a calibrator is a convenience, because I can reach for it at any time, saving, as in case of few monitors and various needs, the purchase paid off very quickly, but most importantly, the certainty, that I give the client the work which is not dependent on the randomness of my display settings.
SUMMARY
The process described above is definitely a big step forward for people who have not calibrated / profiled their monitors before, but you must be aware, that it is also not free from imperfections. However, looking towards more professional color work, the only option is hardware calibrated monitors, because this type of calibration can provide much more accurate results. Finally, for people who do not feel confident in this topic, I strongly recommend using the services of companies that deal with calibration professionally, which is a standard for creators working for the needs of e.g. television or large advertisers.
See also:
18/04/2024
19 new features in DaVinci Resolve 19
Learn about the selected 19 best new features in DaVinci Resolve 19!
04/01/2024
DaVinci Resolve quick tips #4
It's time for another post with DaVinci Resolve tips, including how to easily remove unused clips from Media…
11/11/2023
Tilta Nucleus Nano II follow focus review
Is the new Tilta Nucleus Nano II follow focus set just a cosmetic change or a completely new quality?
23/06/2023
Calibrite ColorChecker Passport Video
Check out why the Calibrite ColorChecker (Passport) Video color guide is an indispensable tool on every film…
10/02/2023
DaVinci Resolve quick tips #3
Version 18.1 of DaVinci Resolve was released, version for iPad, so I envite you for the third portion of…
25/08/2022
DaVinci Resolve quick tips #2
As it's been some time since the first entry with DaVinci Resolve tips, it's high time to publish the second…
06/06/2022
Live streams production
Attention; please be quite on set, we are going on the air! Have you ever been thinking, how can live streams…
25/04/2022
What do I owe to photography
In this blogpost I share my thoughts about what I owe to photography as a filmmaker, and why the role of…
28/12/2021
DaVinci Resolve quick tips #1
I started a series of so-called "quick tips" about DaVinci Resolve. Hope you find them interesting, I invite…
14/09/2021
BenQ SW271C monitor review
I use BenQ SW271 monitor on a daily basis, but now I had an opportunity to test its successor - SW271C. Are…

