
Color grading is a part of postproduction that determines the final look of the film. Poor grading may additionally highlight operator or editing errors, while proper grading will make the image a feast for the eye, giving it the intended style and character. In an era of increasingly available high-quality cameras recording digital material and software such as DaVinci Resolve, the possibilities available to colorists are becoming almost limitless. I am a Certified DaVinci Resolve Trainer, also specializing in Color Grading, I am responsible for color correction, among others, all Kaktus.studio productions and I will be happy to take care of your project too!
HOW TO SEND THE PROJECT?
It is definitely easiest to send the project if it is also made in DaVinci Resolve (for instance .drp project file and separate source files, or archive file .dra), then the so-called conforming is trouble-free. However, projects from other editing programs in the form of .xml or .edl files can also be imported, but there may be a need to manually “rebuild” some effects. In addition, a video file with a render after final edit is required to check compliance, as well as visual references, the so-called moodboard, and information about used cameras and recording settings for correct color management are welcome.
COLOR GRADING
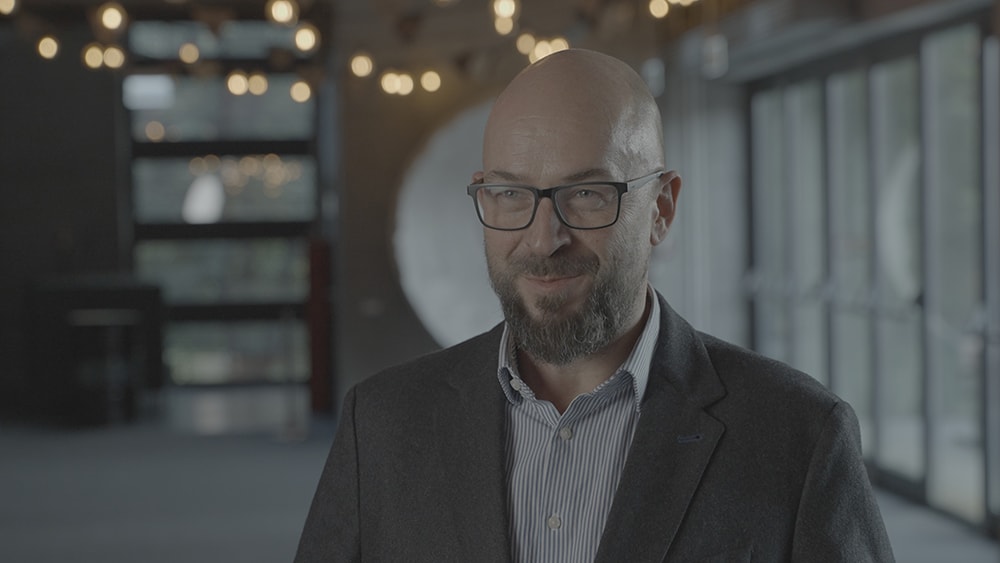
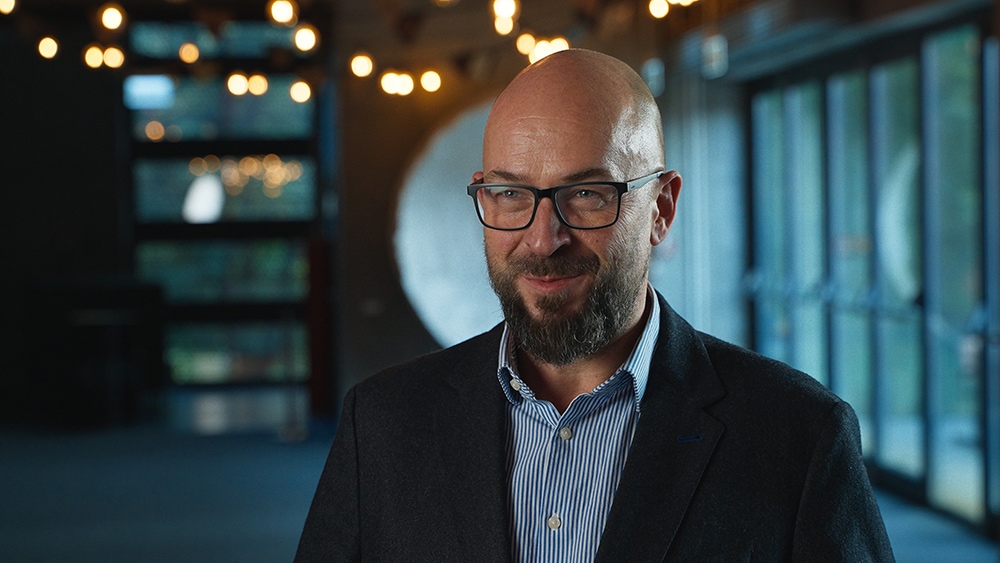
Color grading process is fully conducted in DaVinci Resolve Studio software, of which I am Certified End User in versions 15 and 16, as well as Certified Trainer since 17 (Introduction to DaVinci Resolve, Color Grading and Fusion Effects). It can be safely assumed that preproduction reference images from the moodboard are very different from those received straight from the camera, where the image is most often recorded in raw files or in the so-called flat profile (e.g. S-Log3). An example is the still below (before and after color correction); the colors are kind of “washed out”, everything seems too bright.
So first, you need to address proper color management. Personally, I prefer to work in the DaVinci Wide Gamut / Intermediate color space with a simultaneous preview in the target color space, such as Rec 709. Then, basic color correction takes place, based on setting the appropriate exposure, contrast, color balance, or noise reduction, while maintaining the appropriate skin tones or product colors in the case of advertising. Then the work is focused more locally, individual image elements can be corrected in order to achieve specific effects, including shaping the viewer’s focus area. Additionally, vfx operations are also possible, such as replacing the sky or removing unwanted elements from the frame, and even adding new ones generated by AI tools. Finally, changes are being made to the colors, including using special DCTL plugins and added effects such as grain or halation, all to achieve the intended final character of the image.
STUDIO
Advanced color grading requires efficient equipment, including accurate and regularly calibrated monitors. In the studio I have three at my disposal; the first (BenQ PD2700U) displays the user interface, the second (BenQ PD2500U) displays charts, the so-called scopes, while the third one (BenQ SW271) is connected using a special Blackmagic Design DeckLink Mini Monitor 4K card and calibrated as a reference monitor for full-screen viewing. In addition, work is made much easier by, among others: Blackmagic Design Micro Panel, Wacom Intuos Pro M graphics tablet, Loupedeck Live console or high-speed fiber optic connections. More information can be found on the Studio page.
PORTFOLIO & CONTACT
Kindly envite you to look through the portfolio and contact me for individual offer!