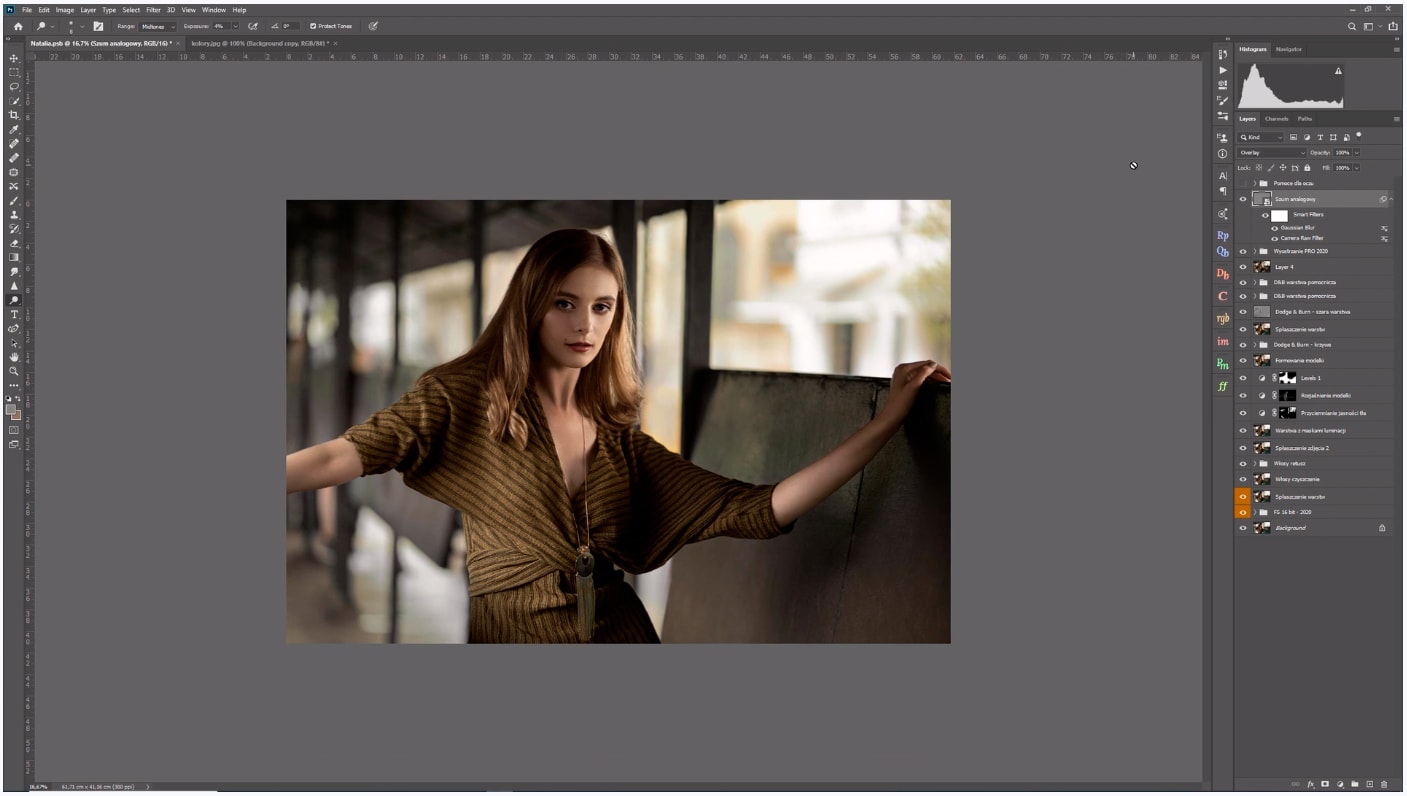
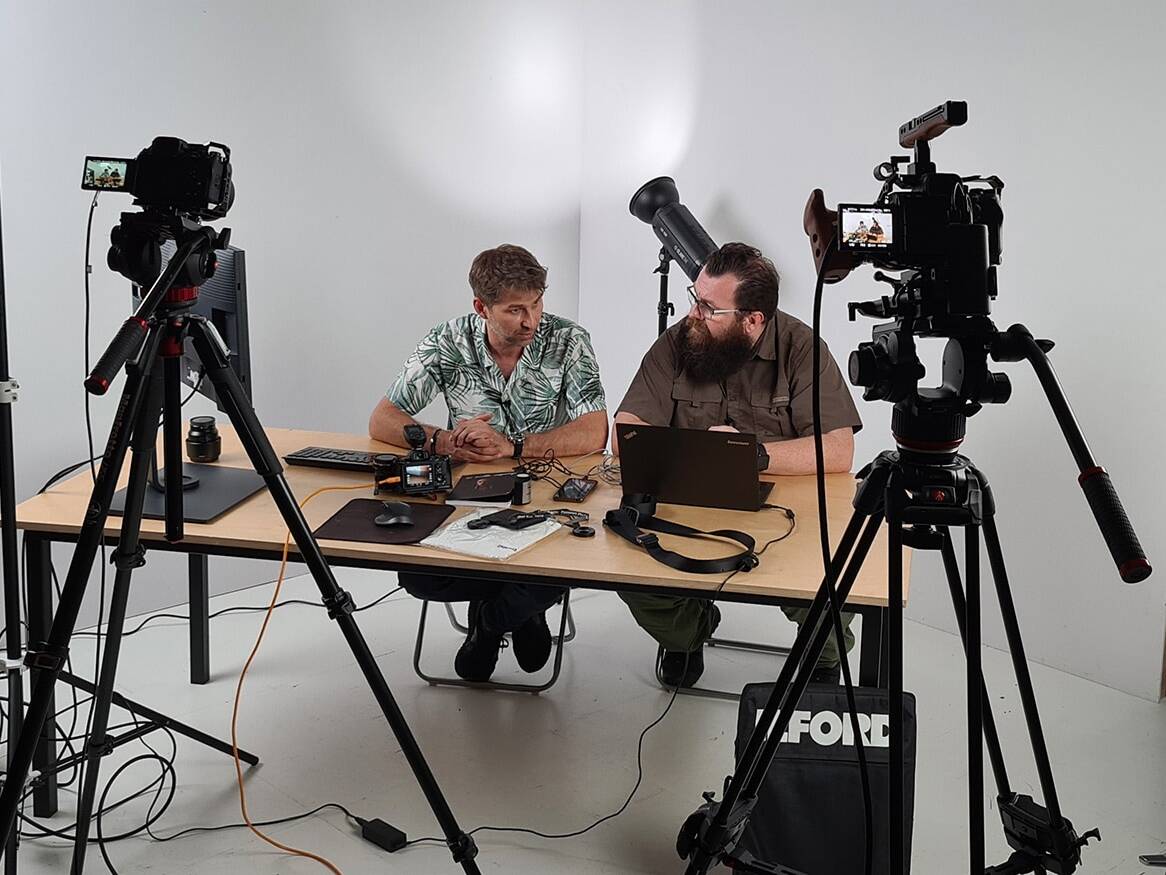
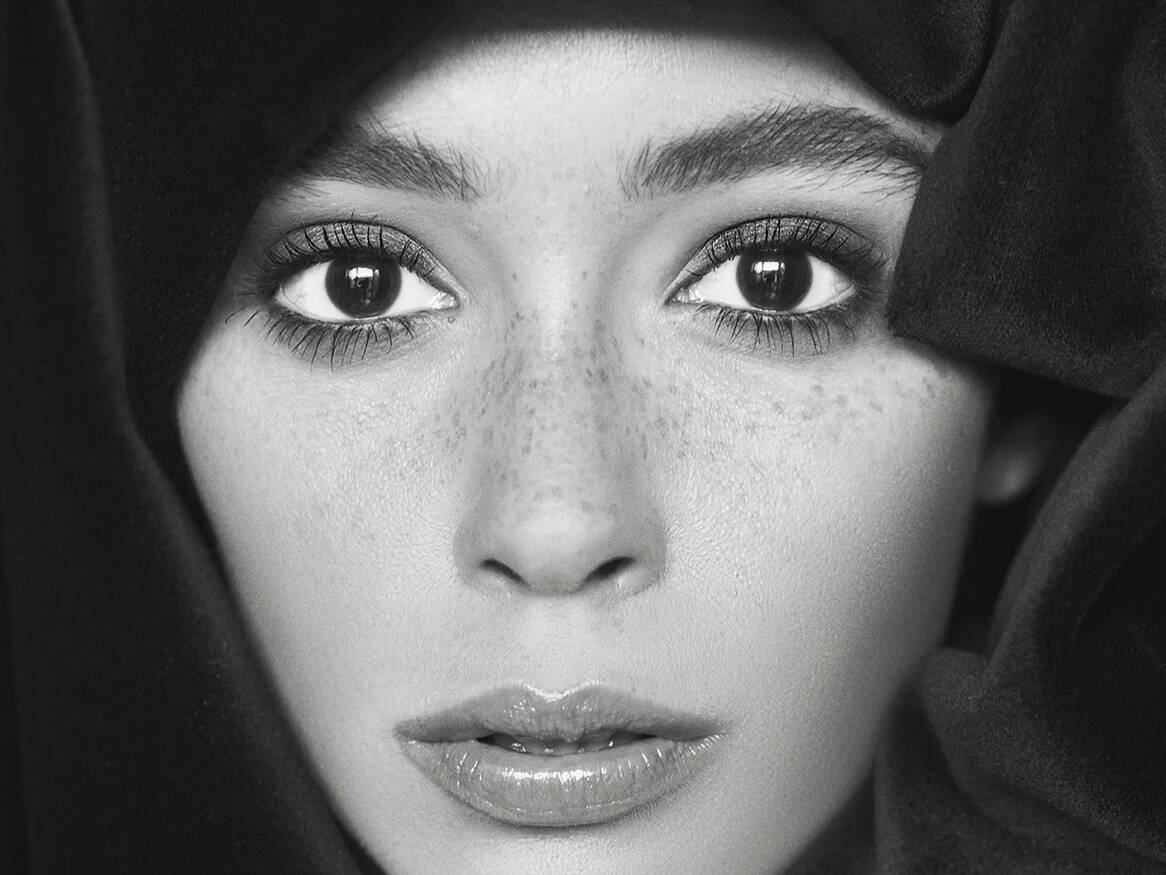
Piotr Werner is a well-known and respected Cracow fashion, portrait, commercial and wedding photographer. Since many years Piotr is amazing his clients and fans with beautiful works, running numerous photography workshops all over Poland, and just recently has launched an online training platform. And just there the “Photoshop Actions 2020 + video retouch” course is available, which I have the opportunity to use since a week now.
I also would like to point out that although I know Piotr privately for some time, the following text is in no way sponsored or edited. It is fully original and aimed mainly at people, who may be thinking about buying it, especially in times when the number of online courses is rapidly increasing, but unfortunately they often do not meet our expectations.
So one by one; after creating an account on the platform and purchasing the course, we get access to:
- 45 actions for Adobe Photoshop,
- video with a detailed description of each action separately,
- and a video with full retouching of the sample photo using the above actions along with RAW and PSD files with all layers.
ACTIONS
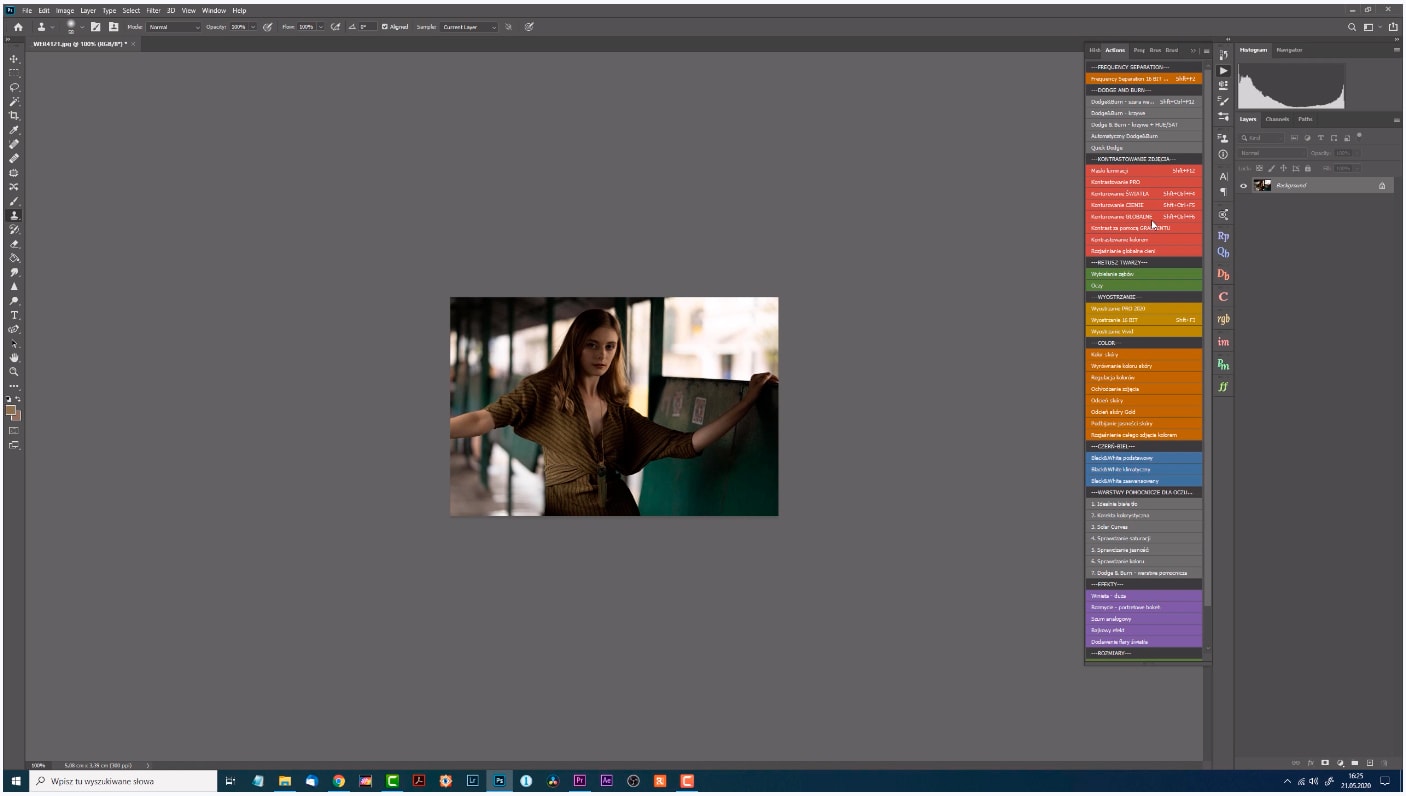
For people who are just starting their adventure with retouching, I would like to add that actions are an automated way to speed up the work in program. With one click, all the layers needed to achieve the certain goal are created. The actions will not retouch the photos for us, but thanks to them we will be able to do it much faster, easier and in an organized way, thanks to which we will be able to raise the effects of our work to a much higher level.
So, as I mentioned, we get as many as 45 actions for Adobe Photoshop, which are divided into thematic groups:
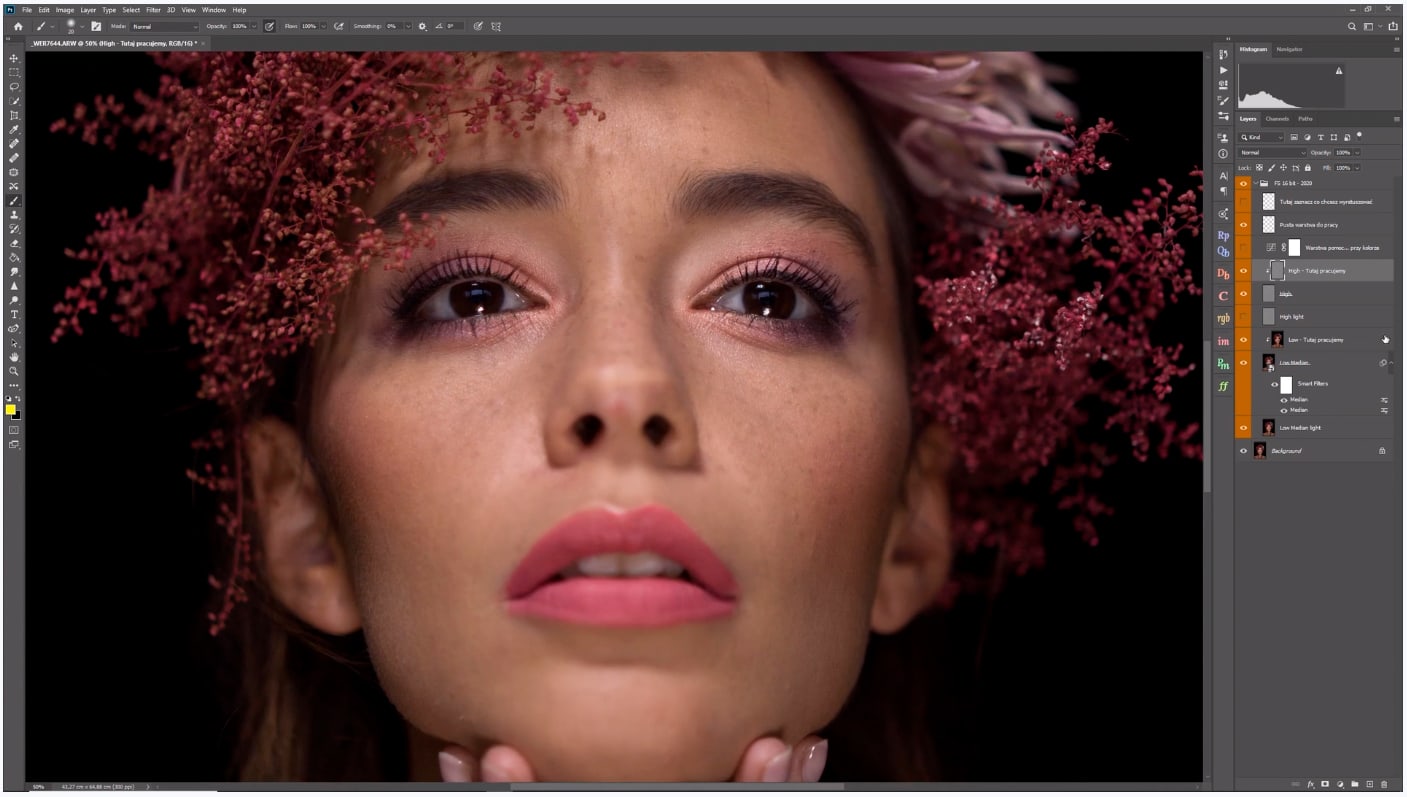
- FREQUENCY SEPARATION, an action without which it is difficult to imagine a professional retouching. The action is based on the median and “splits the frequency of the image”, thanks to which we can improve details, such as any skin imperfections, on one layer, without affecting the color. On the other hand, we can improve all tonal transitions, this time without affecting details. After just a few to dozen minutes of work, the effects can be amazing! If I had to personally choose the most important action for me out of these forty-five, this would be this one.
- DODGE & BURN, it is a group of 4 actions, each of which is supposed to allow us to achieve the same goal; lighten or darken particular parts of the image, both in micro and macro terms. This method is used by the best retouchers in the world, which allows you to get incredible results, and its only downside is the fact, that it is quite time-consuming and tedious. Well, something for something. 🙂
- CONTRASTING A PHOTO are the next 8 actions, thanks to which we can influence the contrast, allowing to build three-dimensionality of the photo and emphasizing those elements, which we want to draw the attention to. Perhaps the most important of these actions is “Contrasting PRO”, and especially “Masks of luminance”. The latter is again the method preferred by the best retouchers, but thanks to this action you can also benefit from it! Here you create 10 brightness masks, 10 shadow masks, and 1 halftone mask in “channels”. Thanks to these masks, already on the layer, we can influence in an extremely subtle way the small areas of the photo defined by the aforementioned masks.
- Thanks to the next two actions from the group FACE RETOUCH in an easy way, among others, we will whiten the teeth, change the color and brightness or emphasize the contours of the eye. Simple actions, but so necessary in portrait retouching.
- In the SHARPENING group, we have 3 actions, including “Sharpen PRO 2020”, which is again used by the best retouchers. Of course, we can modify each action, add masks, etc. to get the desired effect. However, it should be remembered that the worst thing we can do is oversharpening the photo, which will make it “plastic” instead of natural.
- The next group is COLOR. We will find 8 actions there, thanks to which we will control the color, both globally and locally. Particularly noteworthy is the action “Equalization of skin color”, thanks to which we can easily and effectively even out the difference between skin tones, for example on the face, legs or hands.
- Black and white photos can have their own unique magic, but to get it just removing the saturation is not enough. In the BLACK & WHITE group, however, we have three actions that will definitely make it easier for us!
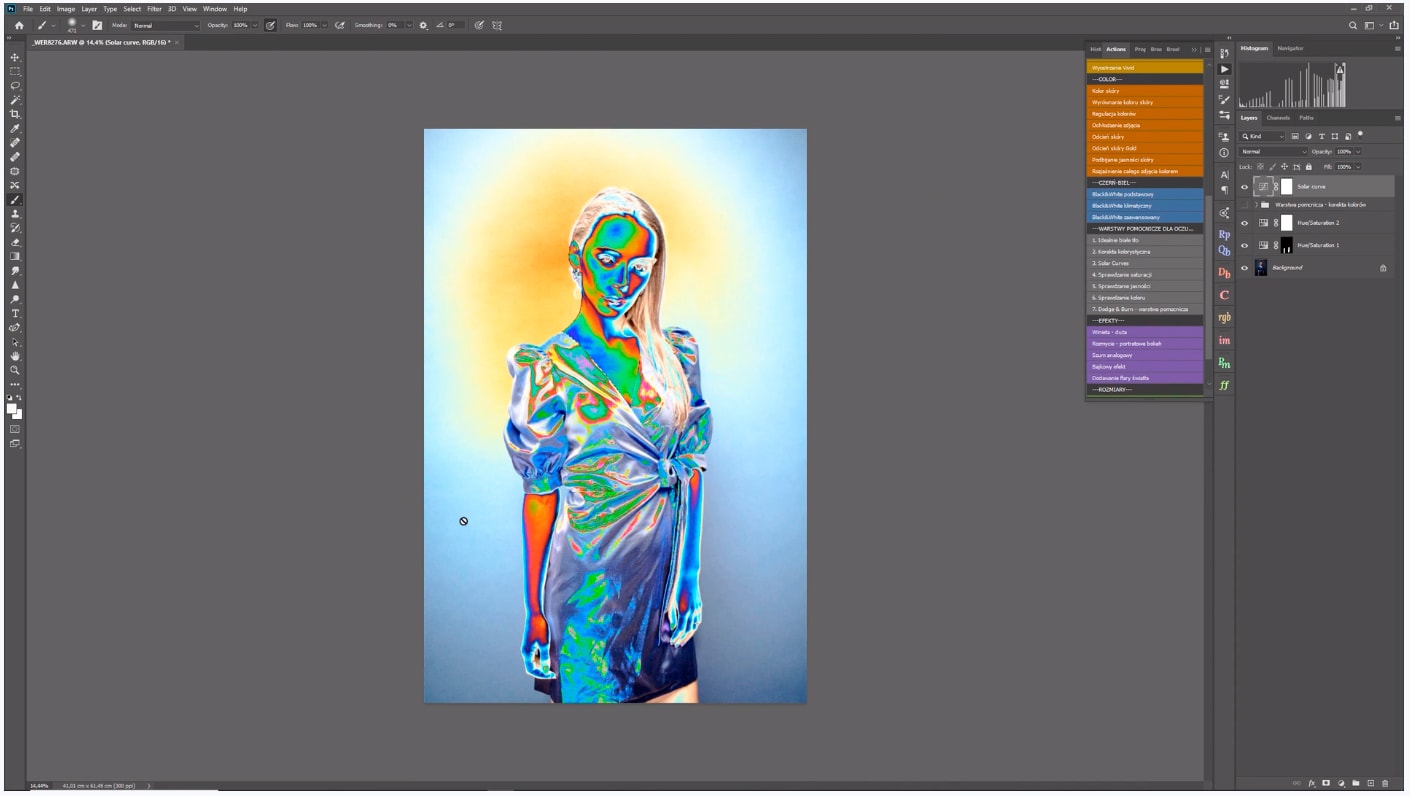
- AUXILIARY LAYERS FOR THE EYES play an extremely important, but often underestimated role in professional photo retouching. Thanks to these layers, we can control the effects of our work and see what would be difficult to notice with a “normal” view. We can choose from as many as seven actions, incl. “Checking saturation” or checking tonal transitions thanks to the “Solar curve”.
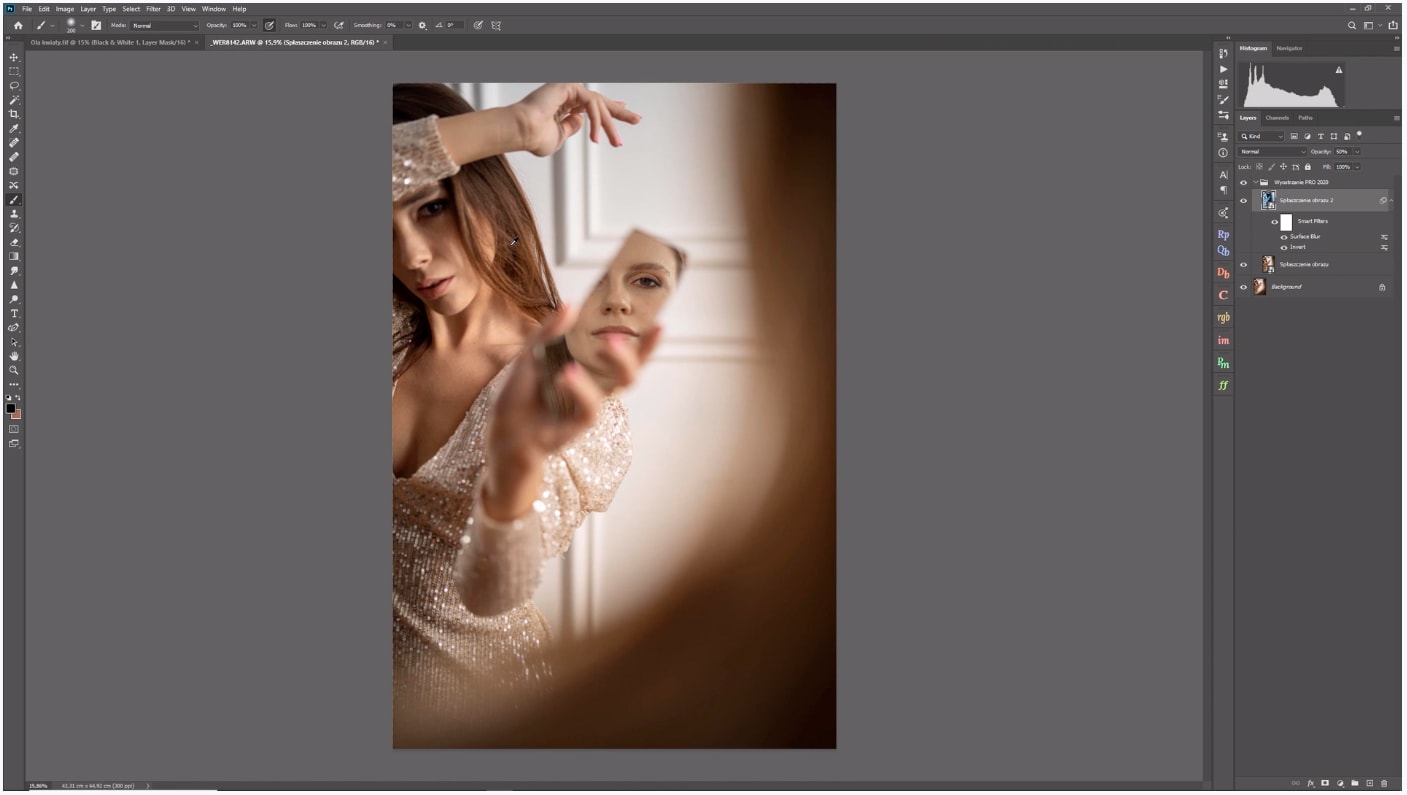
- The next group of actions is EFFECTS. Here, in my opinion, the most interesting of the five are the two actions in particular; “Blur – portrait bokeh”, thanks to which we can manually control the location and degree of blur in the photo, while the other is “Analog Noise”, which adds that “cinematic vintage look”. Adding noise also allows you to hide the effects of unwanted banding, which may appear if the photo has spaces where there is a slight change in the tone of a given color and you export it, for example to social media, significantly reducing its resolution.
- The last group is SIZES, where we can find four actions that allow you to quickly change the size of a photo for example for Facebook or other social media.
VIDEO WITH DETAILED EXPLANATION OF EACH ACTION SEPARATELY
It is worth mentioning that the above actions are prepared for the English version of Photoshop, but this is not a problem. Already at the beginning of the video course, Piotr shows how to change the language version of the program in both Windows and IOS. Then we have a simple instruction on how to install the action and a detailed description of each one. Importantly, it is not only an overview, but a demonstration of the operation and modification of the action on specific examples. In addition, Piotr adds many useful tips on his best retouching practices, and the total amount of material in this section is over 3.5 hours!
VIDEO WITH FULL RETOUCH OF A CHOSEN PHOTO
And finally, as a revision, to consolidate and to sum up the previous lessons, we have an almost 3-hour photo retouching, during which we can once again see the practical application of the previously learned methods.
SUMMARY
And so we’ve reached the end, so far, but more on that in a moment. Currently the price for the course is still 299 zlotys and in my opinion it is really attractive for the actions themselves! Here, however, not only do we get these actions, but also their detailed description, retouching examples and many additional tips, which makes it actually a full-fledged Photoshop course with 45 amazing actions. And all this for 299 zlotys!
But that’s for now, because… Piotr promises monthly course updates, new campaigns and videos, at no extra charge!
I promised a surprise – here you go! I managed to encourage Piotr to an additional discount: -15% on the current price with the code: WERNER15. The code is valid until June 15, 2020, so it is worth to hurry up with the decision.
The course is available on the website: kursy.piotrwerner.pl
Well, I don’t know if I managed to encourage anyone, but if you are serious about photography, this offer is really worth considering.
See also:
18/04/2024
19 new features in DaVinci Resolve 19
Learn about the selected 19 best new features in DaVinci Resolve 19!
04/01/2024
DaVinci Resolve quick tips #4
It's time for another post with DaVinci Resolve tips, including how to easily remove unused clips from Media…
11/11/2023
Tilta Nucleus Nano II follow focus review
Is the new Tilta Nucleus Nano II follow focus set just a cosmetic change or a completely new quality?
23/06/2023
Calibrite ColorChecker Passport Video
Check out why the Calibrite ColorChecker (Passport) Video color guide is an indispensable tool on every film…
10/02/2023
DaVinci Resolve quick tips #3
Version 18.1 of DaVinci Resolve was released, version for iPad, so I envite you for the third portion of…
25/08/2022
DaVinci Resolve quick tips #2
As it's been some time since the first entry with DaVinci Resolve tips, it's high time to publish the second…
15/07/2022
Software calibration of any monitor
Almost any display or monitor can be calibrated (profiled), in addition having a calibrator combined with a…
06/06/2022
Live streams production
Attention; please be quite on set, we are going on the air! Have you ever been thinking, how can live streams…
25/04/2022
What do I owe to photography
In this blogpost I share my thoughts about what I owe to photography as a filmmaker, and why the role of…
28/12/2021
DaVinci Resolve quick tips #1
I started a series of so-called "quick tips" about DaVinci Resolve. Hope you find them interesting, I invite…

